Forza Horizon 6 Touge Battles: The Ultimate Drift and Grip Guide

Verified Insights & Analysis
This comprehensive guide delves into the technical aspects of the Touge Battles in Forza Horizon 6, emphasizing optimal car builds, tuning strategies, and competitive tactics.
Master the Mountain Pass with Deep Technical Insights
Executive Summary
This comprehensive guide delves into the technical aspects of the Touge Battles in Forza Horizon 6, emphasizing optimal car builds, tuning strategies, and competitive tactics. It explores the dichotomy between drift and grip racing on mountain passes, offering nuanced insights for advanced players seeking mastery. Detailed breakdowns, telemetry usage, and meta implications are provided to elevate your Touge performance.
- → In-depth analysis of mountain pass event rules, routes, and scoring mechanics
- → Comparison of grip versus drift racing philosophies with technical tuning tips
- → Optimization strategies for car builds including suspension, aero, and differential settings
- → Meta implications for competitive gameplay and multiplayer strategies
- → Expert FAQs addressing high-level tuning and game mechanics

Introduction to Touge Battles in Forza Horizon 6
Forza Horizon 6 introduces the exhilarating Touge Battles, a gameplay mode deeply rooted in Japanese mountain pass racing culture.
These events are confined to five preset routes that challenge players with their unforgiving terrain—dense forests, blind corners, elevation drops, and treacherous guardrails.
Unlike standard Horizon Festival races, Touge battles are standalone, initiated at specific points with unique point-scoring mechanics based on skillful navigation and driving finesse.
In multiplayer, the mode transforms into a competitive Lead/Chase duel, emphasizing close-quarters maneuvering and strategic positioning over raw lap times.
The scoring system rewards both the leader for maintaining clean lines and avoiding hazards, and the chaser for proximity and mimicry.
Mastering this dynamic requires understanding not only your vehicle's capabilities but also the subtle interplay of grip, momentum, and technical precision.
Grip Racing vs. Drift Racing: Philosophies and Application
The core challenge of mountain pass racing in Forza Horizon 6 lies in choosing the appropriate driving philosophy—either grip or drift.
Grip racing emphasizes high mechanical grip and precise line selection, allowing for faster lap times and safer navigation through tight corners.
Conversely, drifting showcases style and scoring potential but inherently sacrifices speed due to tire smoke and sliding inertia.
While impressive for cinematic footage, excessive drifting on technical mountain roads leads to reduced momentum, increasing the risk of off-course excursions and crashes.
For competitive Touge racing, especially in a multiplayer context, a focus on grip ensures better stability, faster corner exits, and consistent performance—crucial factors for winning duels.
Grip vs. Drift: Key Considerations
Grip offers stability and speed, essential for time-critical sections; drift excels in scoring zones but at a speed cost.
Avoiding Max-Power Pitfalls
One common mistake among players is over-investing in high-horsepower hypercars—S2 or R class—expecting them to dominate mountain passes.
These vehicles, designed for circuit racing, often perform poorly on uneven, bumpy terrain due to their low ride heights, stiff suspension, and aggressive aerodynamics.
The increased front weight from engine swaps like V12s or V8s also induces severe understeer, making tight corner navigation hazardous.
Instead, building momentum-based B or A-Class cars with balanced setups yields superior handling and agility. Lightweight sports cars with moderate power—such as the Nissan Silvia K's, Toyota GR86, or Lotus Emira—excel on technical roads.
These vehicles leverage lower PI, allowing for precise tuning and incremental upgrades that enhance grip, braking, and weight transfer without sacrificing overall maneuverability.
Tuning Strategies for Mountain Pass Success
Achieving peak performance in Touge events requires meticulous tuning, especially for payload-sensitive, high-precision driving. The primary focus is on mechanical balance, suspension geometry, and aero adjustments.
60—favoring stability without sacrificing agility.
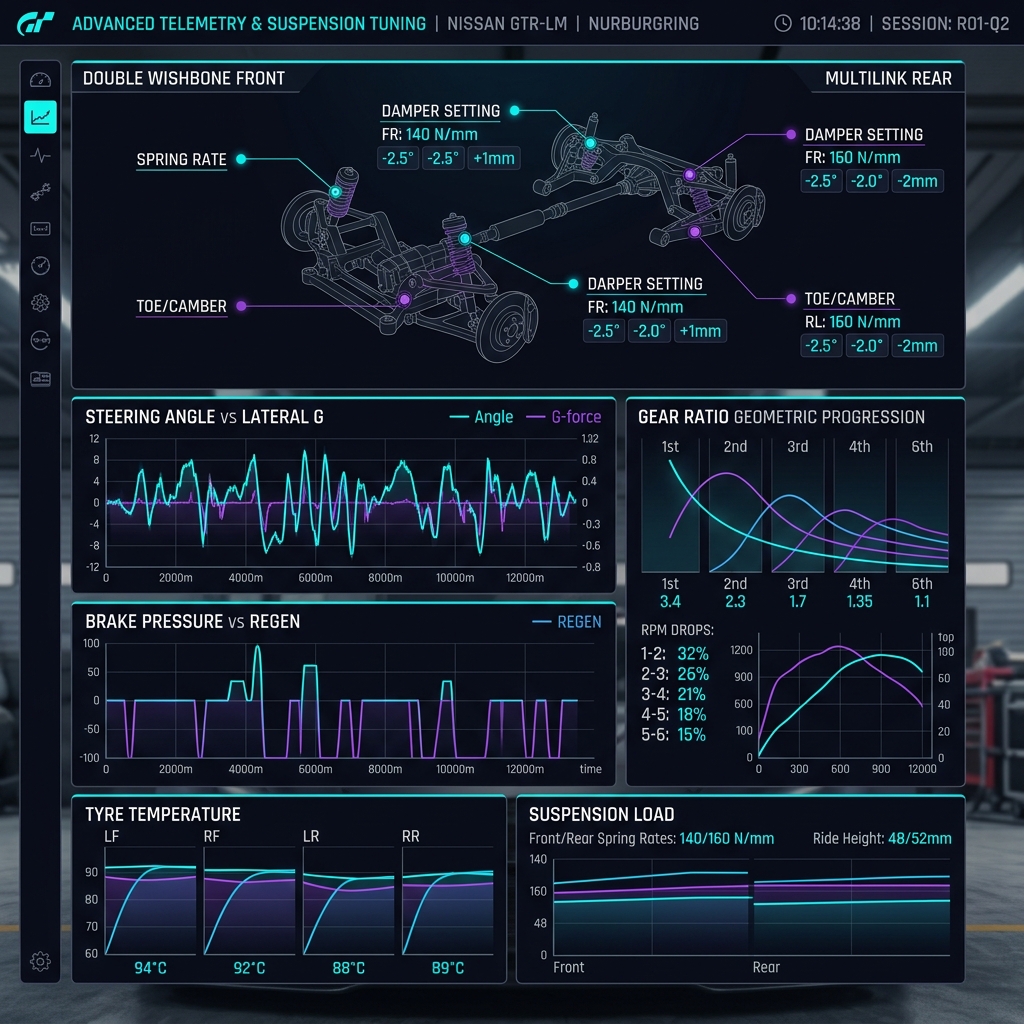
Spring stiffness calculations are pivotal; matching front and rear spring rates based on weight distribution ensures predictable handling.
For example, front springs should typically be set between 85% and 98% of their maximum stiffness, with rear springs in the 58% to 84% range. 0, with drift setups dropping these values for softer responses.
Telemetry-Driven Suspension Tuning
Use real-time grip data to fine-tune spring rates and damping for optimal mechanical balance (~0.60). Adjust based on telemetry feedback to prevent understeer or oversteer during critical corner entry.
Gear Ratios and Final Drive Optimization
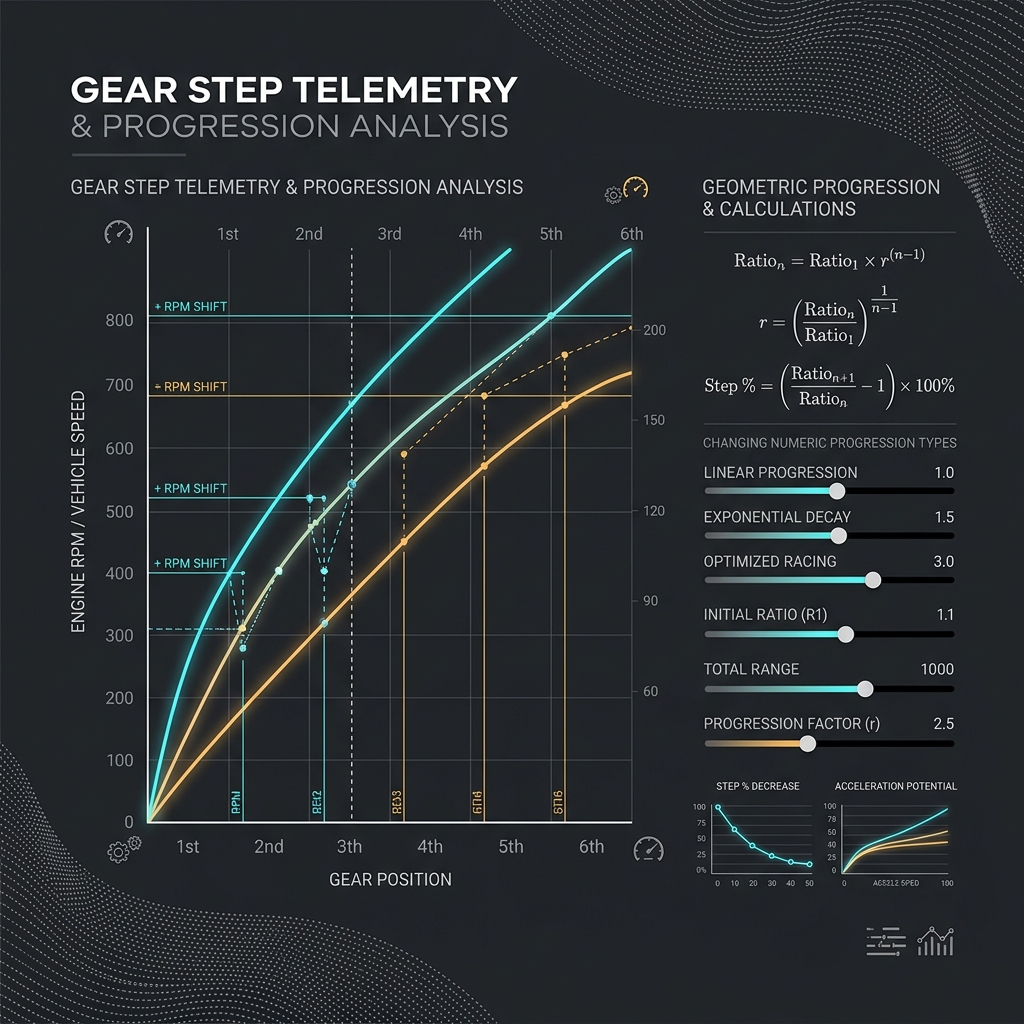
Precise gear ratios are essential for maximizing traction and exit speed, especially on steep inclines. 65, to generate balanced spacing across six gears.
94.
The Final Drive ratio should be tailored to your engine's horsepower, ensuring optimal RPM utilization. 25 + ((400 - HP) / 600).
38. 10 shortens gearing for quicker throttle response and rear-end breakaway, facilitating lift-off oversteer.
Differential Tuning for Hairpin Mastery
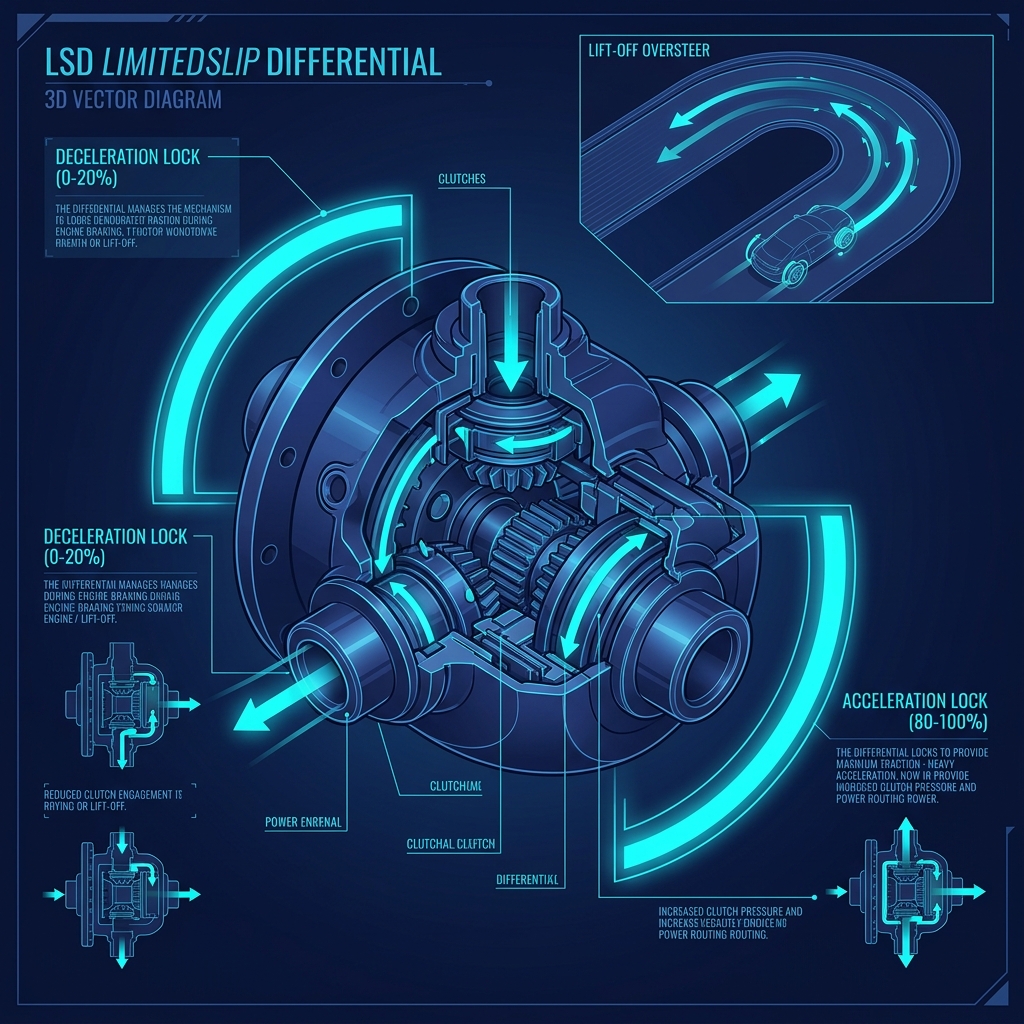
Mountain passes feature some of the tightest hairpins, where traditional steering can be insufficient. To exploit these curves, tune your differential for lift-off oversteer by setting the deceleration lock between 0–20%.
This allows the rear wheels to freely rotate when lifting off throttle, enabling sharp pivoting without relying on handbrake techniques.
Combine this with a slightly forward brake bias (50–52%) and high brake pressure (100–110%) for deep trail-braking.
When exiting the corner, increase the differential's acceleration lock to 80–100% for maximum rear-wheel traction, propelling you onto the next straightaway with confidence.
The Role of Anti-Roll Bars in Handling Balance
Anti-Roll Bars (ARBs) influence how the vehicle manages body roll during cornering. Overly stiff ARBs can overload outside tires, causing understeer or snap oversteer depending on the setup.
0 points to mitigate understeer, enabling the chassis to absorb lateral loads more effectively.
0 points improves rear grip. 0 or lower, to allow for smooth, sweeping weight transfer.
Meta Implications and Competitive Strategy
Optimizing car setup for Touge battles profoundly impacts multiplayer rankings and personal skill progression. Vehicles with balanced grip, precise gearing, and fine-tuned suspensions outperform brute-force hypercars, emphasizing the importance of strategic upgrades and telemetry-driven adjustments.
The meta favors adaptable builds that excel on uneven terrain and tight corners, incentivizing players to master technical tuning rather than raw horsepower.
Strategic differential and suspension tuning can turn a mediocre car into a mountain pass maestro. In multiplayer, mastering lift-off oversteer and corner exit techniques grants significant competitive advantage, especially against players relying solely on power.
Continual adaptation based on telemetry data and route knowledge remains the cornerstone of high-level Touge success.
Technical Breakdown: Deep Dive into Tuning Calculations
The spring rate calculation formula, $K_s = ((K_{max} - K_{min}) imes P_s) + K_{min}$, enables precise matching of suspension stiffness with weight distribution. 0$.
This fine-tuning improves mechanical grip and handling predictability.
Gear ratios derived from the geometric progression formula ensure smooth torque delivery across all gears, preventing RPM spikes and stalls, vital during rapid transitions in mountain racing.
Adjusting the Final Drive based on engine horsepower tailors the powerband for peak efficiency—crucial when navigating ascents and descents where torque management is key.
Final Reflection: The Art of Mountain Pass Mastery
Mastering Forza Horizon 6's Touge Battles demands a blend of technical precision, strategic foresight, and adaptive driving.
By understanding the nuances of grip versus drift, leveraging telemetry data for fine-tuning, and employing advanced differential setups, players can elevate their mountain pass performance significantly.
The challenge lies not just in raw speed but in finesse—crafting a vehicle and driving style perfectly suited to the unforgiving, twisting roads of Japan.
Explore the Forza Horizon 6 Hub
Access our full suite of professional Forza Horizon 6 combat analytics, calculators, and in-depth guides.
Tuning Calculator
Calculate optimal base spring rates, damping, and gear ratios based on your car's weight distribution and telemetry.
Car Database
Filter and search the complete FH6 car roster by PI, Class, Manufacturer, and Unlock requirements.
PI ROI Calculator
Evaluate Performance Index (PI) return on investment. Model engine swaps, tire upgrades, and chassis weight reductions in real-time.
Credit Farming Calculator
Optimize your credits-per-hour (CR/hr) payout. Calculate earnings based on difficulty assists, VIP status, and blueprint runs.
Transmission Optimizer
Fine-tune transmission gear ratios and final drive. Align shift points with your engine's peak torque band for ultimate acceleration.
Drag & Launch Simulator
Simulate 0-60, 0-100, and 1/4-mile drag times. Fine-tune your launch RPM, tire compounds, and weight transfer for the perfect hook.
Car Mastery ROI Calculator
Calculate the exact Credits, Skill Points, and time needed to reach your target Profile Level using the car mastery XP exploit. Includes auto-sustaining Viper credit loop and Super Wheelspin routing.
Meta Ranking
Discover the most dominant competitive meta cars for multiplayer, Rivals, and online championships in Forza Horizon 6.
Touge Battle Guide Generator
Model uphill and downhill sector performance, simulate lead/chase mountain passes, and generate optimized chassis tunes for JDM battles.